
Have you ever had that icky feeling, when you do something really cool with your eldest, but you can’t involve your youngest because it isn’t age appropriate yet?
And no matter how hard you try to make it up to your youngest, it still feels like they’re being left out of all the fun?
Yup, that’s how I’ve been feeling about crystals.
Making crystals is cool. It’s impressive to transform something from one form into another, especially when the new form is sparkly, faceted and gem-like.
My eldest daughter Jewel and I have made a bunch of pretty, sparkly, faceted Borax crystals, but so far my three year old daughter Bumble Bee hasn’t been allowed to join in.
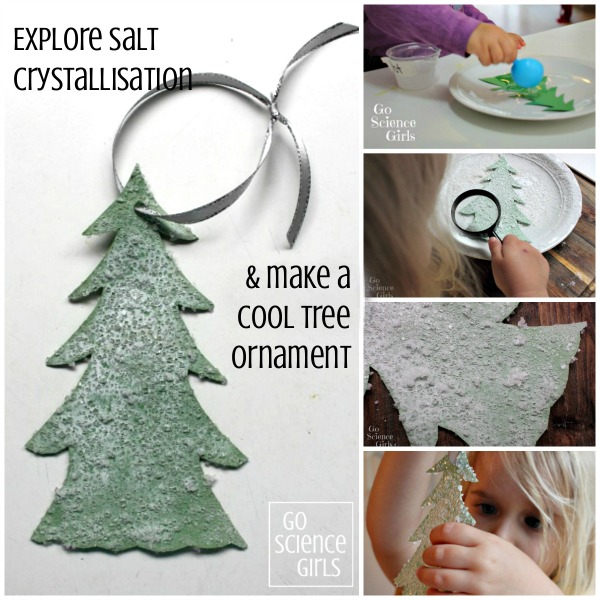
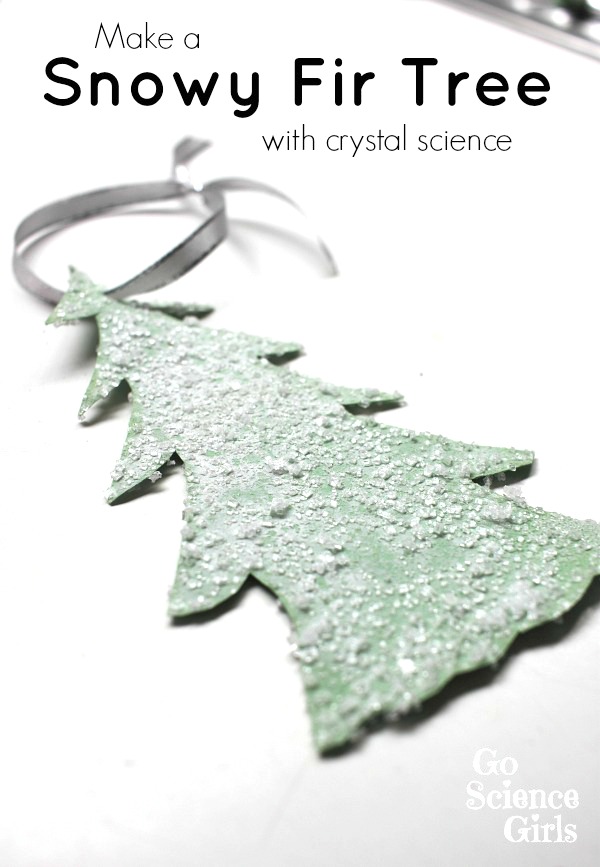
So Bumble Bee was very happy that, this time, she got to try out a new way to play with crystals, which only uses everyday materials I’m happy for her to handle. And because this new way creates a beautiful, hazy, snowy effect, we decided to try making snow-covered fir trees.
We’re planning to use these as a science-themed Christmas ornament to hang on our tree.

This is a fun activity for 3-4 year olds. It’s taste-safe, so I’d say you could try it with older toddlers as well. Bumble was 3 years and 1 month old when we did this.
To make our snowy salt crystal tree, we used:
- green construction paper
- scissors
- plate
- table salt
- hot water (from the tap)
- a clear plastic cup
- a stirrer
- a small measuring spoon (optional)
- magnifying glass (optional)
- holepunch (optional)
- ribbon (optional)
I cut out a fir Christmas tree shape out of construction paper (slightly sturdier than regular paper), and set it on a plate.
Then, with my help, Bumble filled a clear plastic container with hot water from the tap. (Our tap water isn’t hot enough to scald.) She dipped her finger in and tasted the water.
Bumble helped pour our regular table salt into a measuring spoon, which she then added to the hot water and stirred. She picked up the plastic cup to look at the bottom and see if all the salt had dissolved.
She looked, smelt and tasted the salty water. It had changed! Where had the salt gone? Into the water! The water had dissolved the salt, and now it had become a (slightly cloudy looking) salt water solution.
Bumble kept adding salt until her solution was saturated, and undissolved salt started to gather on the bottom of the cup.
Bumble then scooped the salty water onto the plate with the tree shape.
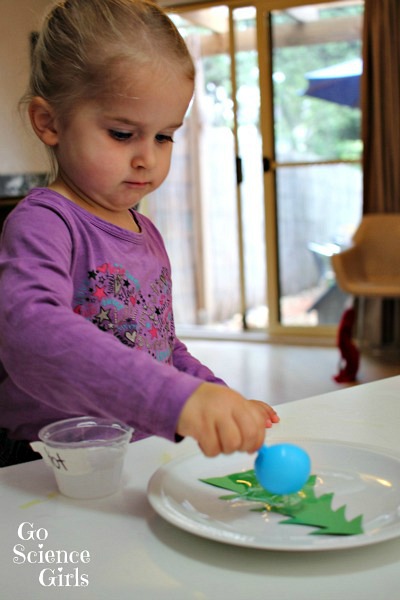
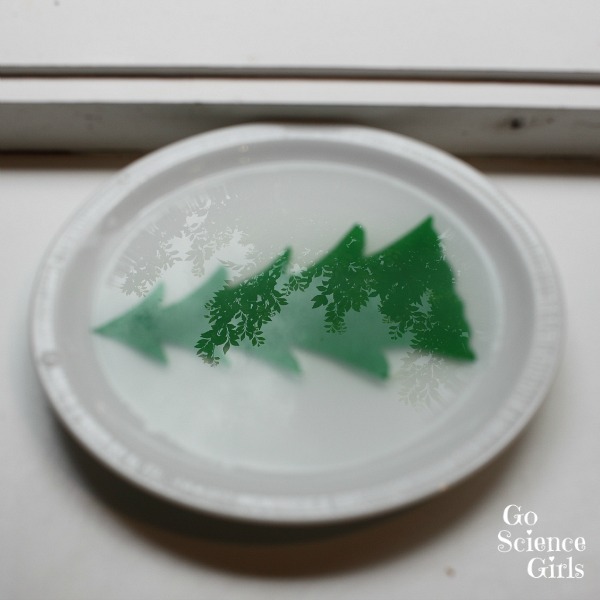
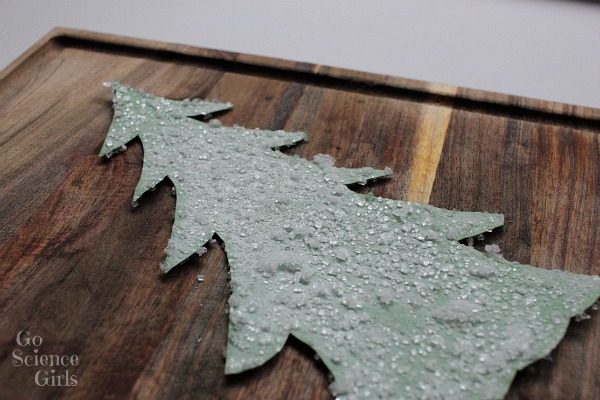
The original intention was to only add enough to just cover the tree, but Bumble ended up pouring the rest of the solution over the top, so we had a very, very wet tree. We set it aside near the kitchen windowsill to slowly dry.
(I love how you can see the one of our backyard trees reflected in the water!)
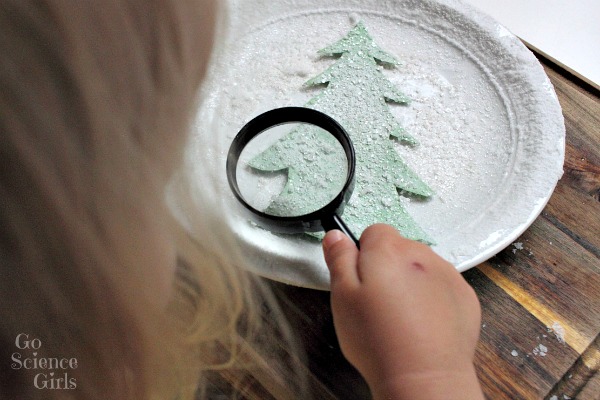
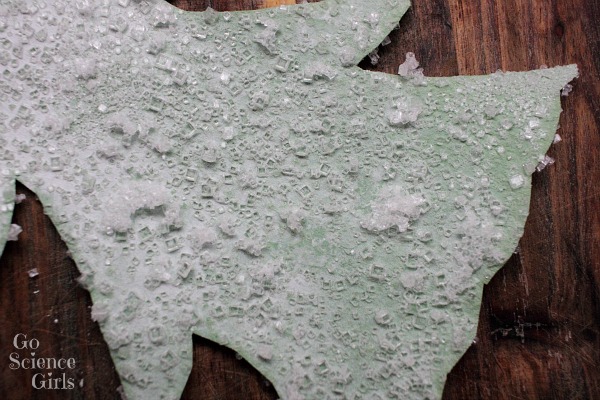
A few days later, the water had evaporated, leaving behind a haze of salt, including some distinct small cubic salt crystals. Now that the water had dried, you could see the salt again. That’s where it was all along!
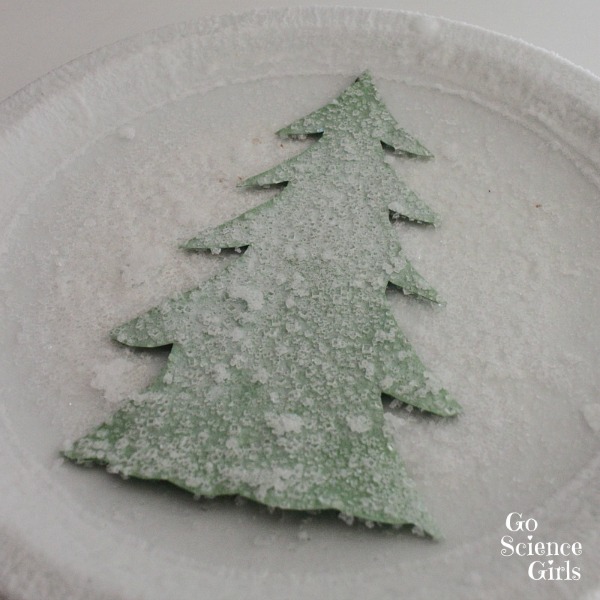
Bumble touched it, smelt it, tasted it. Yup, still salt.
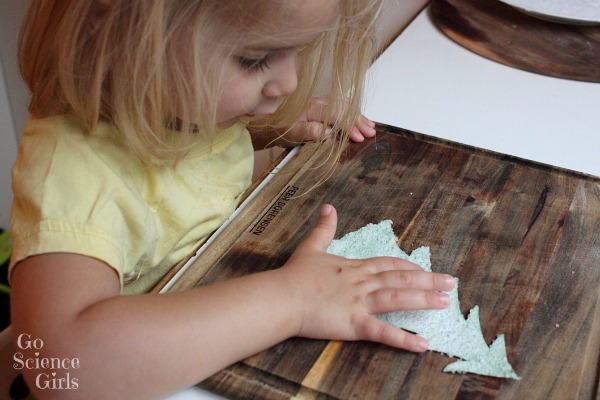
She had a good look at the salt crystals using both her magnifying glass and her microscope. I’m not 100% sure that she knows how to use these instruments properly, but she certainly has lots of fun pretending to.
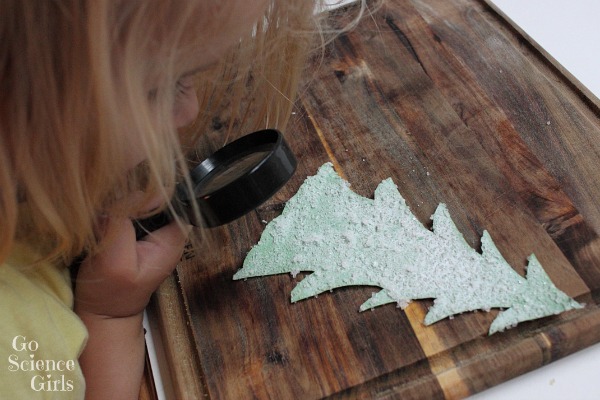
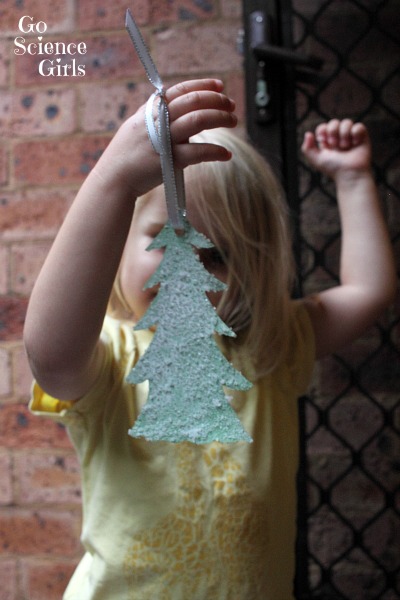
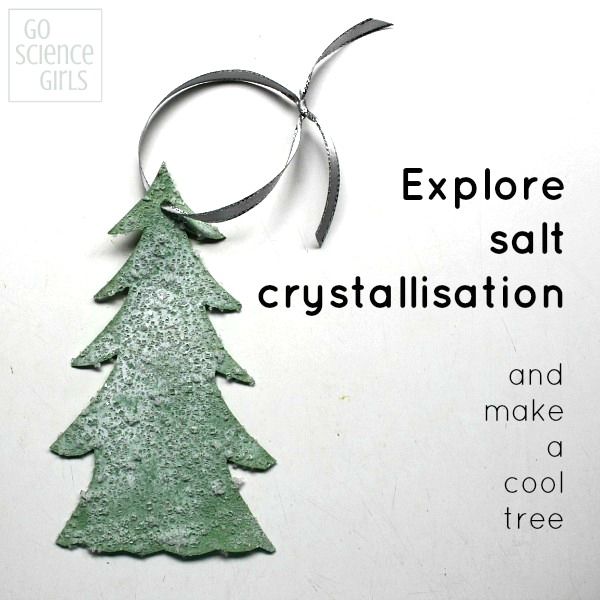
We decided to turn ours into a Christmas tree ornament, so I hole-punched and tied on some ribbon. Now we just have to wait until 1st December to put up our tree!
When you mix salt (sodium chloride) with water, it dissolves. Why? It’s because of the polarity of water. Positive sodium ions bond with the negative part of the water molecule, and negative chloride ions bond with the positive part of the water molecule.
On a preschooler science level, allowing a salt water solution to evaporate and crystalise is a way of showing young kids that dissolved salt hasn’t disappeared, rather it was still there all along.
Salt crystals are cubic. You can see this with the naked eye, but it’s also fun to study under a microscope or magnifying glass if you have one too.
(Note: Uniodised salt purportedly creates better crystals, but for this experiment, and with this age group, I don’t think it makes a huge difference. We used iodised salt, and ours were still really pretty!)
This activity isn’t meant to be viewed as edible. Salt in high doses isn’t appropriate for very young kids, however it won’t do toddlers or older kids harm if a tiny amount of salt is tasted in the process. (Actually, it’s educational!) If you have a crawling baby in the house, I wouldn’t hang the decoration on a low branch of your Christmas tree where they could reach it and suck on it though.
All kids’ activities on this blog do require attentive adult supervision. Parents and carers will need to judge whether a particular activity is appropriate their child’s age and skill level. Click here for more information.
The measuring scoop and plastic cup used here were from our My First Chemistry Kit (a science kit by Scientific Explorer), which Bumble received as a third birthday gift from her friend. This idea was based around (but not the same as) one of the activities mentioned in this kit. I’m hoping to write up an honest review of this science kit in the near future, and I’ll link back to it here when I do.
Original article and pictures take https://gosciencegirls.com/salt-crystal-tree/ site
Комментариев нет:
Отправить комментарий