Because harnessing refers to making use of resources to produce energy we decided to try making a homopolar motor. A homopolar motor is probably the simplest DIY motor you can make. You need just a few easy to obtain items and it’s FAIRLY simple to construct. Homopolar motors are not useful motors in anything but science experiments but they do demonstrate some interesting concepts and are fun to watch! They are also a great introduction to electricity and electromagnetism.
This post contains affiliate links to products I love and recommend to my readers.
SAFETY NOTE:
Neodymium magnets are extremely strong and MUST BE KEPT OUT OF REACH OF SMALL CHILDREN! Do not give them to any child who might put them in their mouth, they are dangerous if swallowed and must be surgically removed! This is a project for older children who can understand the precautions and I recommend ADULT SUPERVISION! For more about neodymium magnets safety and precautions go here Additionally neodymium magnets can interfere with electronic devices so please keep them away from phones!
Also please note that these motors do heat up. See our TIPS section for safety precautions.
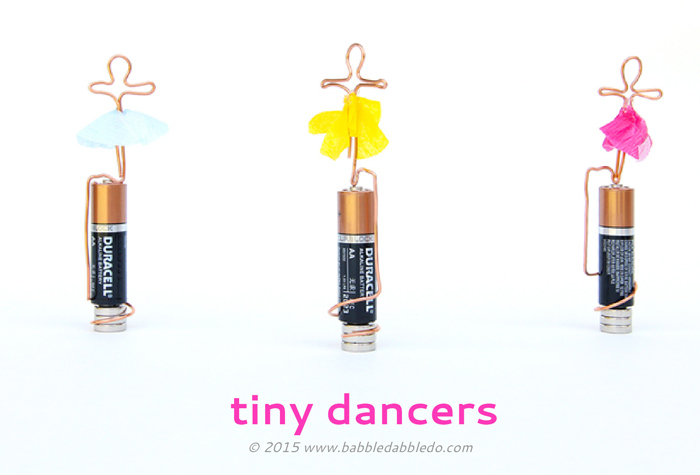
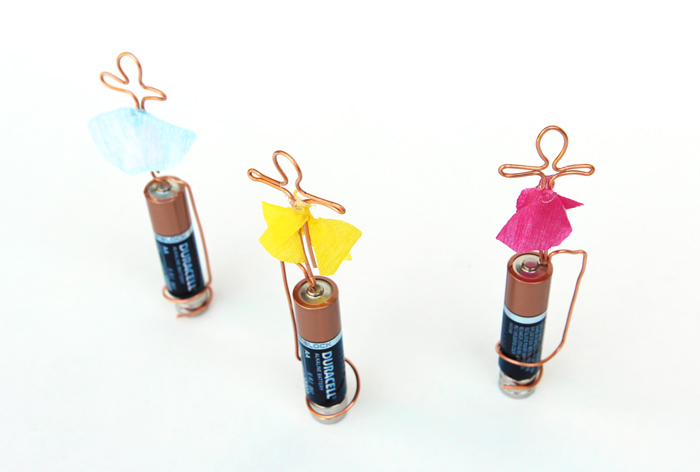
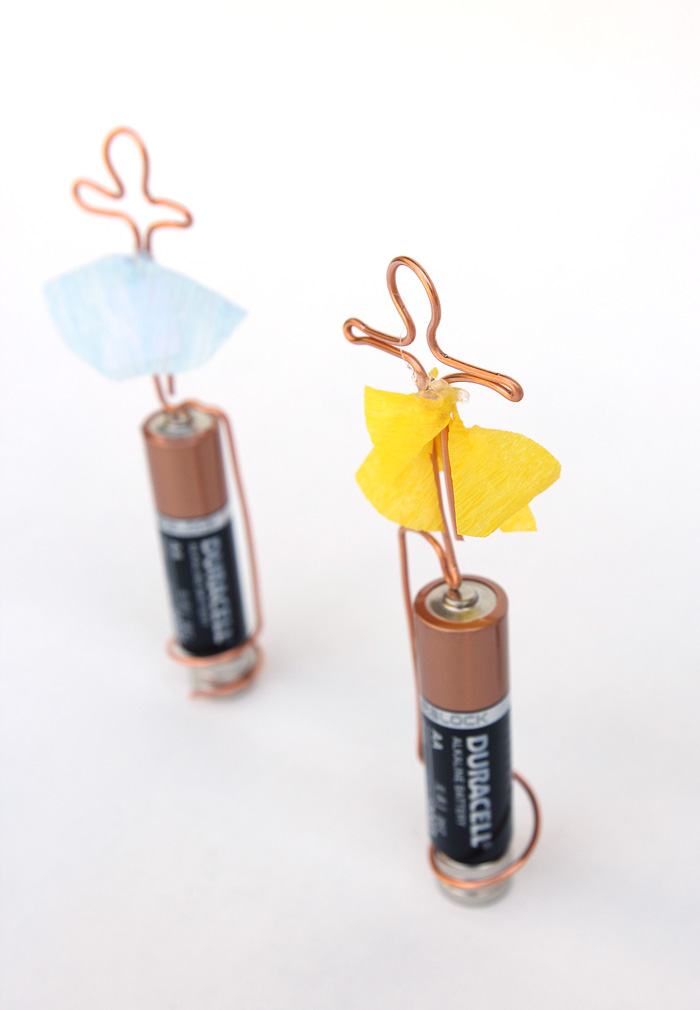
Tiny Dancers (A Homopolar Motor)
Note: Before we get started I want you to know that despite this looking very easy there is a fair amount of TWEAK TIME you will need to invest to make this project work! I recommend starting with a BASIC HOMOPOLAR MTOR to get the hang of how the motor actually works, then trying your hand at making a tiny dancer. Each dancer will need to be tweaked to get them to dance properly on a battery. Don’t be discouraged if at first it doesn’t work, keep tweaking and see our tips sections for some troubleshooting solutions.
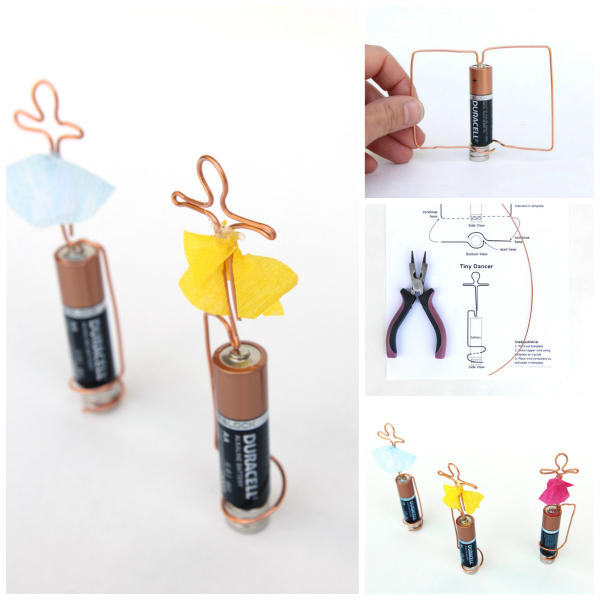
Steps One Cut a long piece of wire off your spool, I started with about a 10” long piece. Lay it on the template of your choice and bend as shown using 3-in 1 tool or pliers. No need to be perfect HOWEVER try and keep your form as symmetrical as possible.
Step Two To create the base section of wire that wraps the magnets, I recommend bending the end of the wire around the battery. Remove the battery and gently widen the circular wire form with your fingers.
Step Three Place three neodymium magnets on the negative side of your battery.
Step Four Place the motor on top of the battery so that it touches the positive pole. The round section at the bottom of the motor must be low enough to encircle the magnets!
Step Five Let it go. If properly constructed it should start to spin. If it doesn’t see our tips below.
Step Six (optional) to make a skirt for your dancer cut a small circle of crepe then cut a slit in the center of the circle. Slide it up onto the dancer and secure in place with a dab of hot glue.
Tips
MONITOR THESE FOR HEAT! Some of the motors that got going really fast heated up quite quickly. If you notice a battery getting usually warm stop the project, let it cool down and remove the magnets. I recommend againstreusing a battery that got overheated. Instead replace it with a fresh battery. One educator warned me about a defective battery that peeled open during this experiment. Please monitor the motors closely as they spin.
Start with your basic homopolar motor. It’s easy to bend and shape and you should have success with it. The dancers require more time to fine tune.
Keep the forms as symmetrical as possible! Since they spin on an axis if the are not symmetrical and/or balanced they will spin off the battery! This happened to us all.the.time. If they do spin off try and bend the form slightly to get them balanced on the battery.
To make the head of the dancer, bend your wire around a pencil.
Thin wire does not work! We tried this with very thin copper wire at first and it did not work. Stick to heavier gauges. Here is the gauge we used.
The templates are meant as GUIDES ONLY! The motors will need to be fine tuned by hand by you!
Remove the magnets immediately after running your motor. They will drain your motor if kept attached.
When the electrical circuit is completed you will hear a very low buzz.
Troubleshooting
If the motor does not work try turning your magnets upside down and reversing the polarity. I found this did the trick most of the time.
The batteries burn out quickly! If turning the magnets upside down doesn’t work, try replacing your battery with a new one.
Make sure that the bottom section of wire encircles the magnets. If it doesn’t your motor will not work.
Be sure your wire is free to move around the battery and magnets. If it’s too close to the battery or magnet it will get stuck and be motionless.
I read that you can use a nail to put a small indentation in the top of your battery to help keep the motor in place. I highly recommend AGAINST doing this. I tried it! One small and light dent worked and the next dent smashed a hole in the battery causing battery acid to spin on my counter! Eek! I decided off balance motors were better than battery acid splashes.
What’s happening?
I’m going to keep this as simple as possible because let’s face it, electromagnetism is hard to explain! Basically homopolar motors demonstrate something called a Lorentz Force. This is a force that is generated when electricity moves through a magnetic field. Our copper wire is conducting electricity from one end of the battery to the other. As it moves through the magnets on the negative side of the battery, it creates a force which causes the wire to spin.
You can read more about the Lorentz force and homopolar motors here and here.
Looks Like
Hendrik Lorentz.Hendrik Lorentz was a Nobel Prize winning Dutch physicist who inspired Albert Einstein! The Lorentz Force is named after him though he was not the first to discover its existence. In his early years Lorentz was primarily interested in studying electromagnetism and light. Albert Einstein used Lorentz’s paper “On the Electrodynamics of Moving Bodies “ as the basis of his own work and the theory of special relativity. It’s super complex stuff but suffice it to say Lorentz ‘s studies of electromagnetism laid the groundwork for some of the most important scientific discoveries of the last century.
Ready for more projects that harness energy?
My fellow bloggers have done a wide variety of projects you have to check out!

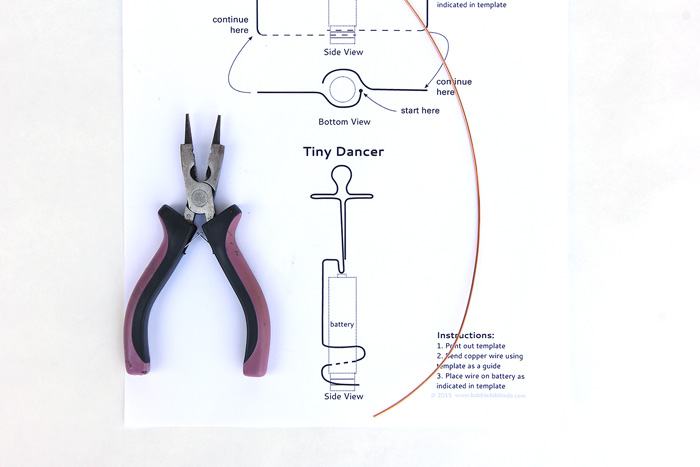 download our template here
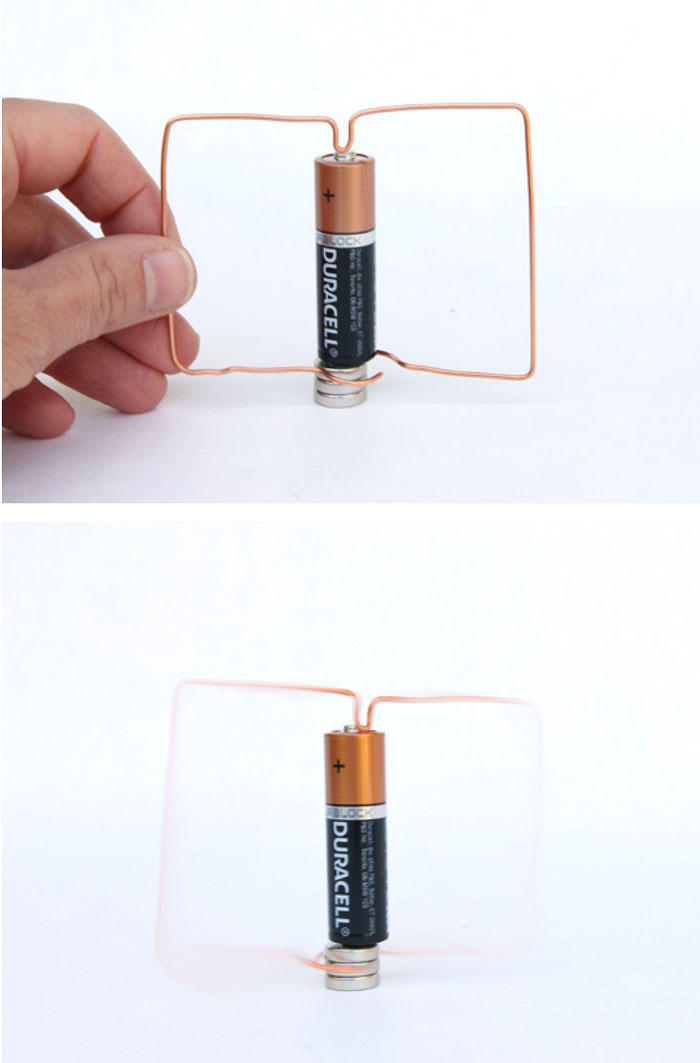

Комментариев нет:
Отправить комментарий