
3D models are a fun, easy way to learn about plant and animal cells.
This hands-on science project is often assigned in middle and high school biology classes. Students are typically asked to create a 3D model that includes all of a cell's organelles using either household or edible materials.
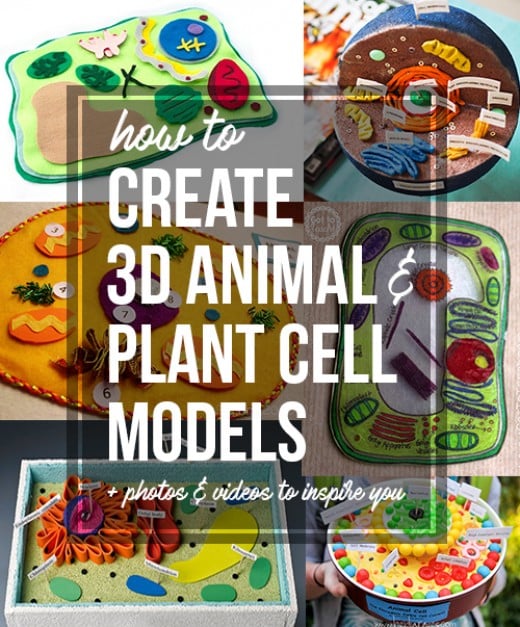
Not sure where to begin? You're in luck! Here you'll find inspiration for 3D cell models made of clay, Styrofoam, Jell-O and everything in between.
This step-by-step guide also includes a complete list of plant and animal cell organelles, suggestions for edible and non-edible project materials and links to educational materials that will expand your knowledge of cells.
Resources For Visual Learners

Click thumbnail to view full-size
How to Make a 3D Cell Model
A step-by-step guide for building an A+ cell model
You don't need to be an award-winning painter, baker or sculptor to create a top-notch cell model — or to have FUN while doing it!
Simply follow the steps listed here and you'll be on your way to an "A" in no time.
Step 1: Plant Cells vs. Animal Cells
Plant and animal cells have different shapes
First and foremost, you need to decide whether you will create a plant cell or animal cell.
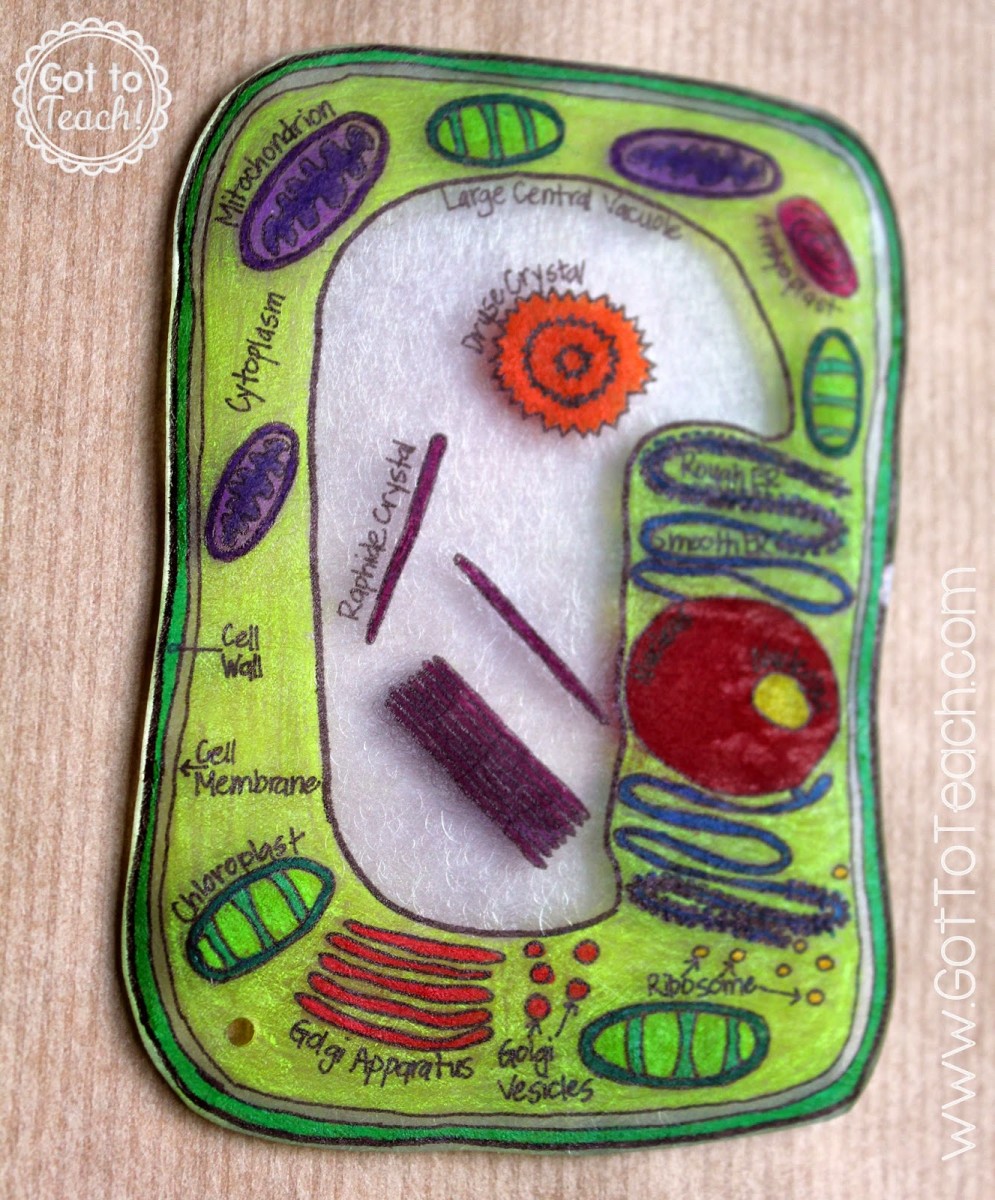
☆ Plant cells and animal cells are shaped differently and contain different parts.
The best way to decide? Take a look at some cell diagrams on an interactive site like CellsAlive.com. The site offers awesome animations of both plant and animal cells with descriptions of each organelle.
Learning Resources Cross-Section Animal Cell Model
Click thumbnail to view full-size
Step 2: Edible vs. Non-Edible Models
Do you plan to eat your cell model?
Next, you should decide whether you want to make an edible cell model or a non-edible cell model.
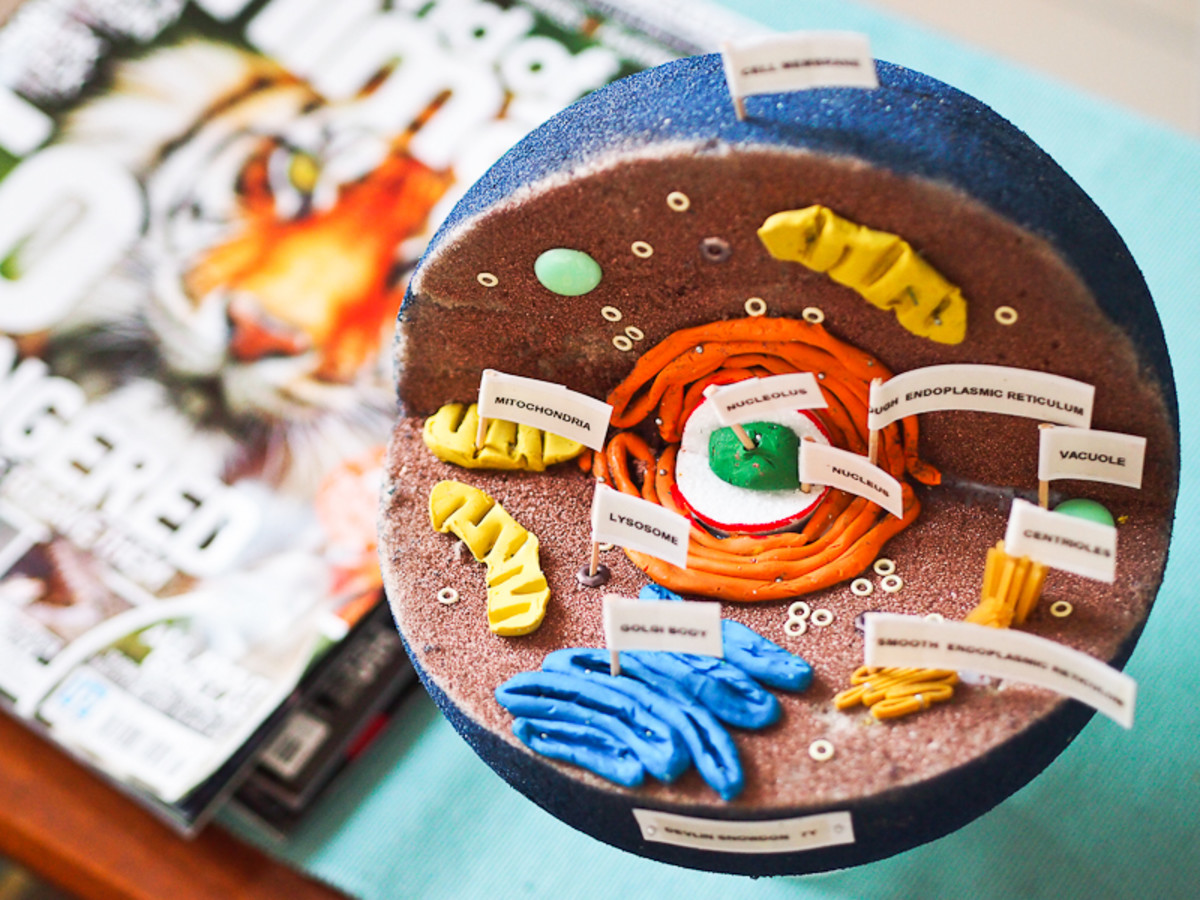
➔ Edible cell models can be eaten (yum!) and are often made with cake, candy, Rice Krispie Treats or Jell-O.
➔ Non-edible cell models cannot be eaten and are often made with craft supplies like styrofoam, pipe cleaners, shower gel and/or clay.
There are pros and cons to each type of project. Consider how much money you want to spend, what supplies you already have in your home, your teacher's requirements and the length of time your project will be on display (edible items may eventually rot, smell or attract bugs). Weigh your options carefully and choose the project type that is best for you.
☞ Don't forget! If you're building your 3D model for a science class in private or public school, check with your teacher to make sure an edible cell model like the one pictured here is ok before you take the time to make it!
| ANIMAL CELLS | PLANT CELLS |
|---|---|
| Cell Membrane | Cell Membrane |
| Cytoplasm | Cytoplasm |
| Nucleus | Nucleus |
| Golgi Apparatus | Golgi Apparatus |
| Mitochondria | Mitochondria |
| Endoplasmic Reticulum | Endoplasmic Reticulum |
| Ribosomes | Riobosomes |
| Vacuoles | Central Vacuole |
| Lysosomes | Cell Wall |
| Chloroplasts |
Step 3: Parts of the Cell
Now you need to make a list of all the parts, or organelles, you will need to include in your 3D cell model.
☆ Organelles are the "mini organs" found inside every plant and animal cell.
Each organelle has a different function and physical appearance, and together they work to keep the cell alive.
STEP 4: Materials
What items will you use to make your cell model?
Here's where the real fun begins! It's time to decide what materials you will use to create each organelle.
☆ The best materials are ones that already look like the organelles you're trying to create.
For example, the nucleus in any cell is always round so a jawbreaker, bouncy ball or orange would each make a great nucleus in your cell model.
ACTIVITY: To power up your creativity, set a timer on your cell phone for 5 minutes. During that time, write down every possible material you can think of. Here's a short list to get you thinking outside the box:
- EDIBLE MATERIALS: Twizzlers, Skittles, gummy worms, jawbreakers, gum, pretzels, marshmallows, cereal, cake, cookies, Jell-O, icing or fondant, sprinkles, food coloring
- NON-EDIBLE MATERIALS: clay, styrofoam, beads, yarn, dry noodles, pipe cleaners, buttons, rubber bands, toothpicks, construction paper, cardboard
Step 5: Build Your Model
As you begin building, make sure to start with the base of your 3D cell model. Why? Because you need to know how big to make everything, of course!
Once you've baked your cake, bought your styrofoam block or sculpted your clay foundation, you can build those beautiful organelles! This is where your creativity can really shine so HAVE FUN and don't forget to keep a diagram of the organelles nearby! Having a diagram on hand will ensure that your cell model is not only super cool to look at but also scientifically accurate.
Once all of your organelles are securely attached to the base of your model, label your organelles. Toothpicks and stickers make great labels and they let everyone know what's what on your cell model.
More by this Author
Sign in or sign up and post using a HubPages Network account.
Original article and pictures take http://wildsimplicity.hubpages.com/hub/3d-cell-model site
Комментариев нет:
Отправить комментарий