
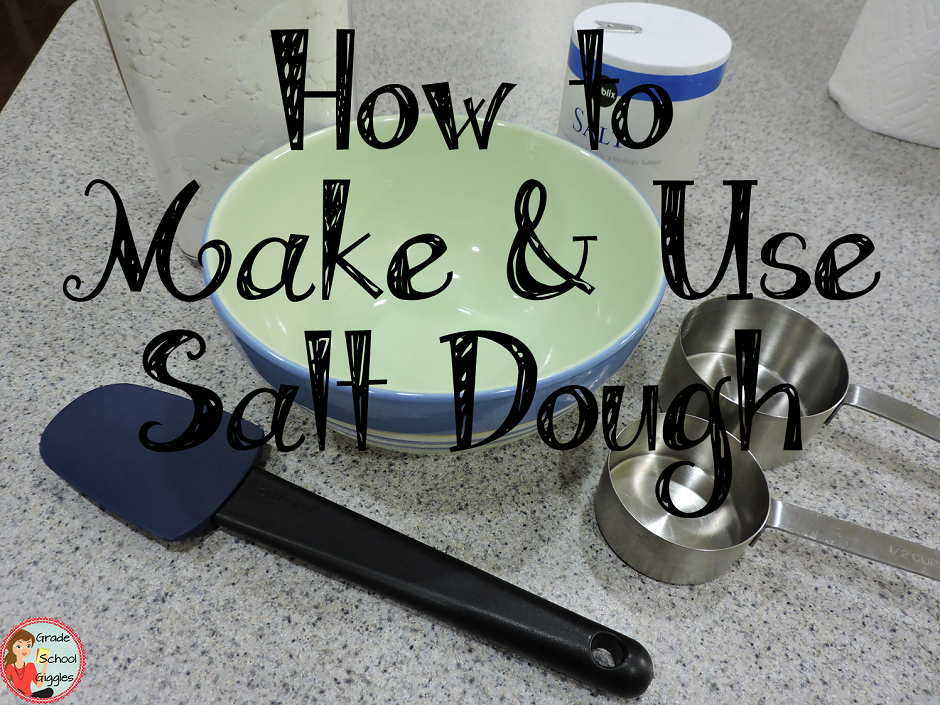
It is surprisingly easy to make. You don’t have to cook it and it can be ready to use in under 5 minutes. Here’s how.
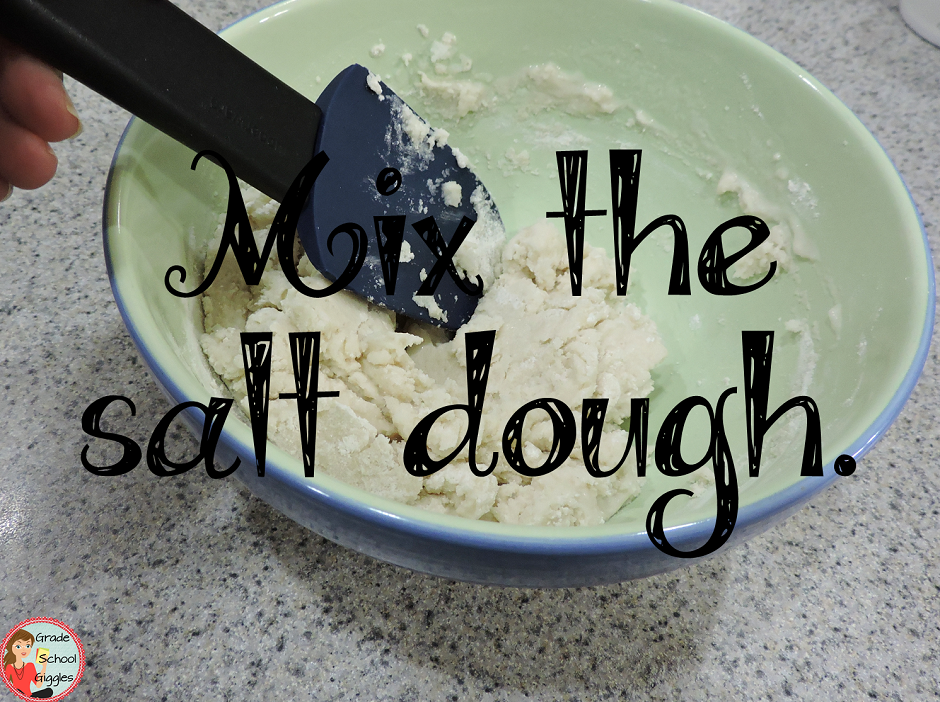
You’ll need 1 cup salt, 1 cup flour, 1/2 cup of warm water, a bowl, and a spoon or rubber spatula for mixing. Pour the flour and salt into a bowl. Mix them together. Then, add the water and mix it in.
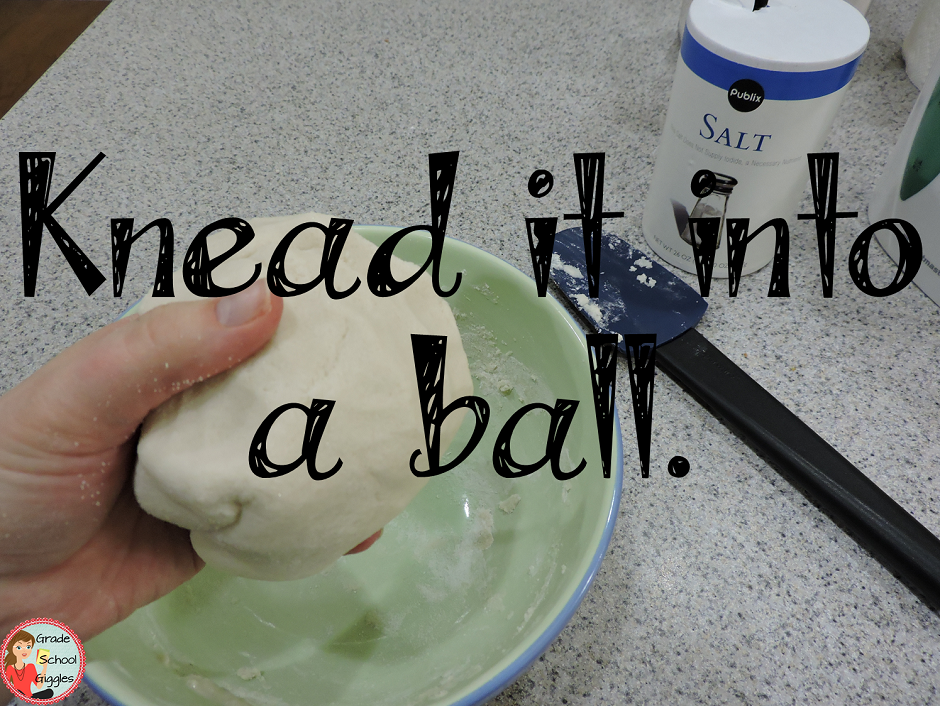
Knead the dough until it makes a nice doughy ball. If it is too sticky just add more salt. It is okay if the texture is a little grainy. You’re ready to create your projects unless you want to add food coloring, cinnamon, or even glitter first. The possibilities are endless. Get creative and have fun.
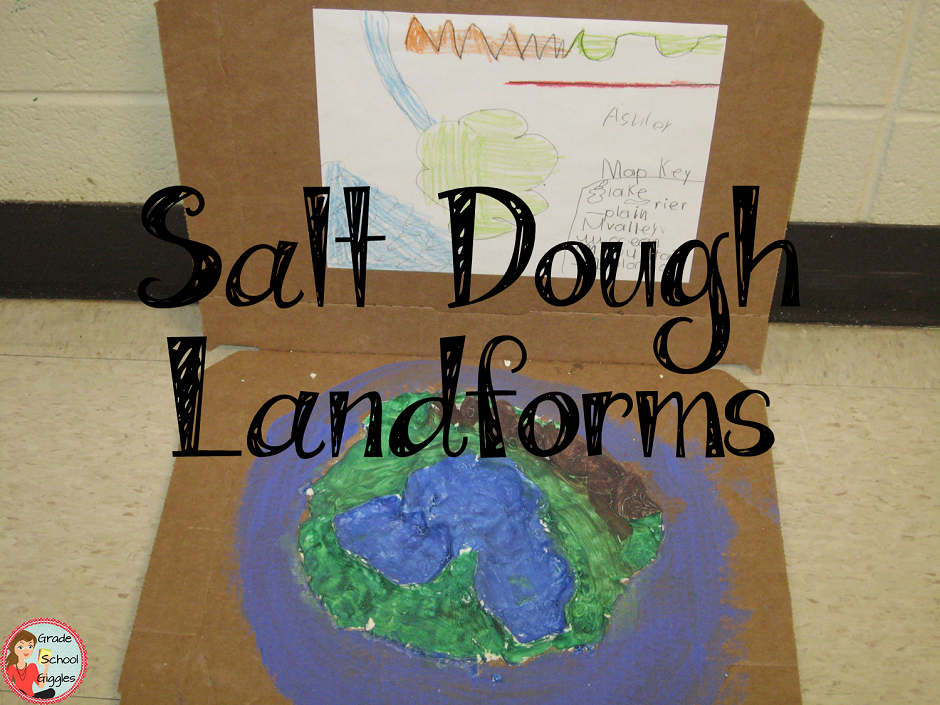
We’ve used salt dough to design islands. We painted them once they were dry and added a map showing the various land forms.
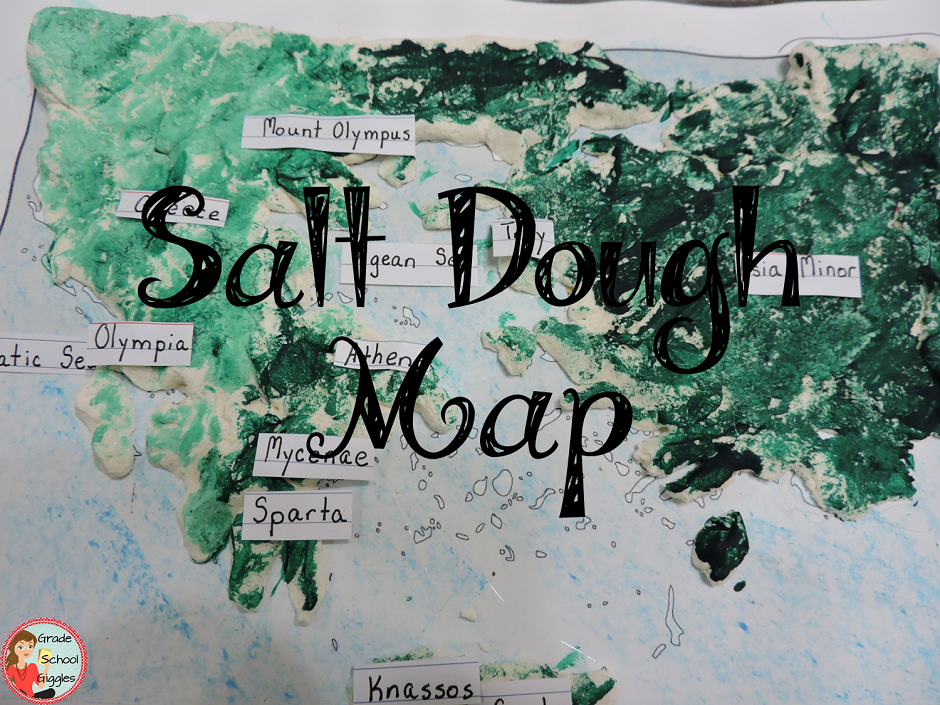
We’ve also used salt dough to make a map of ancient Greece. I printed a map on card-stock and let my daughter use the outline as a guide. She painted it once it was dry and labeled the key cities we encountered in our unit study.
These two projects were air-dried, which takes several days. If you have a smaller project, that isn’t attached to paper or cardboard, you can bake it at 200 degrees Fahrenheit for several hours instead of air drying. The amount of time it will take to dry all the way through will depend on the thickness of your project.
Do you want more ideas for how to use salt dough? Check out these links to see what some other bloggers have done.
2. Fingerprint Flower Ornaments
Be sure to follow Grade School Giggles for more ideas, inspiration, and activities. Linking up with: ET Speaks from Home, Golden Reflections Blog, Think Tank Thursday, Los Gringos Locos, & Look We’re Learning
Original article and pictures take http://www.gradeschoolgiggles.com/how-to-make-and-use-salt-dough/ site
Комментариев нет:
Отправить комментарий