

This is such a simple science activity to set up and enjoy with minimum amount of supplies. We have grown crystals on quite a few things including seashells {must see!} and eggshells. We have also used pipe cleaners to make crystal snowflakes, crystal hearts, and a crystal rainbow. Any shape you can bend a pipe cleaner into works for growing crystals. Since we are approaching Christmas here, why not try making crystal candy canes!

SUPPLIES
- Borax {found in laundry detergent aisle}. You can also use it to make slime too.
- Water
- Small mason jars, a wide mouth is preferable.
- Pan, spoon, cup and tablespoon measure
SCIENCE
I found a helpful article over at Steve Spangler Science that will go into the science behind the crystal candy canes. It’s a neat concept involving liquids and solids and states of matter. Because there are still solid particles within the liquid mixture, if let untouched, those particles will settle. Here they settle on the pie cleaner candy cane as well as the mason jar itself. If you have a lesson in this, crystal candy canes would be a perfect hands-on learning activity!
HOW TO
To fill three small mason jars, I used 6 cups of water and 18 tablespoons of borax. This filled three small mason jars perfectly. I also tried out making large candy canes, but as you can imagine this took a long time as each jar needed at least 4 cups!
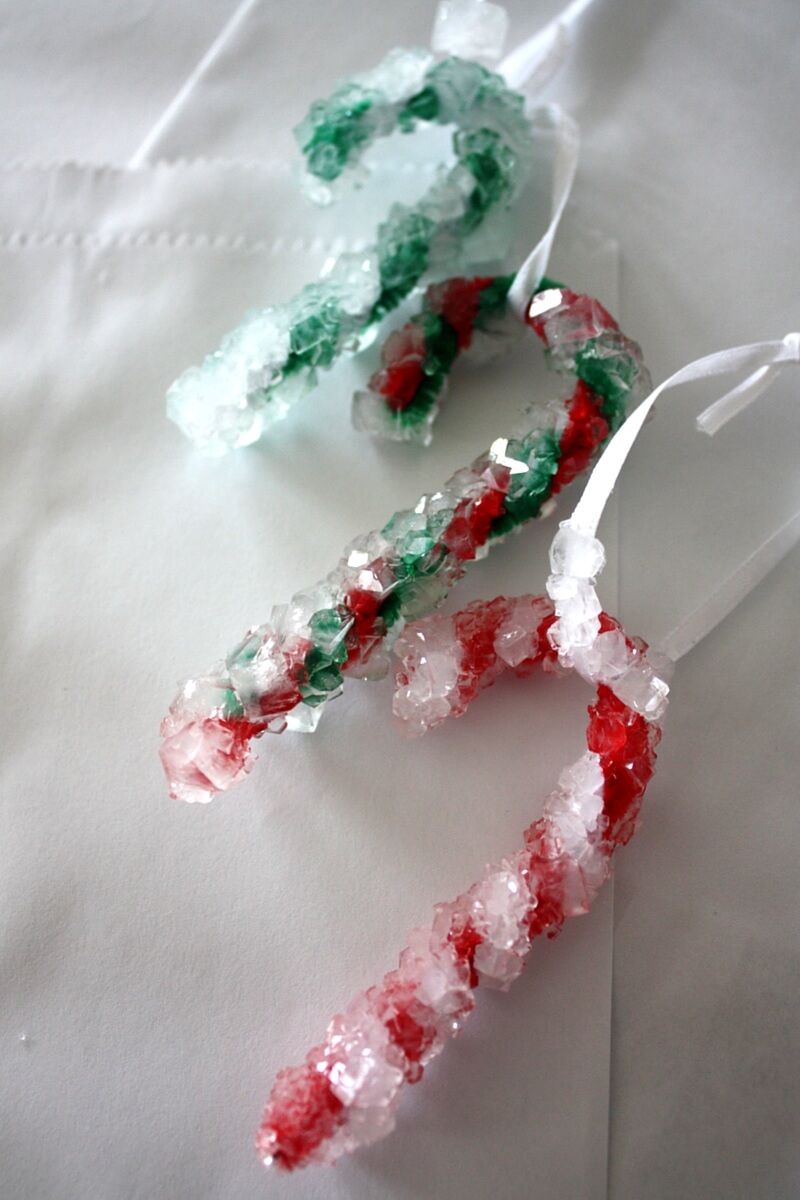
Your best bet is to cut your pipe cleaners in half and make small candy canes! We twisted different combinations of green, white, and red pipe cleaners together to make our candy canes.
You will use the popsicle sticks to change the pipe cleaner candy canes from. You don’t want the candy cane to touch the sides or bottom. It will stick and grow crystals!
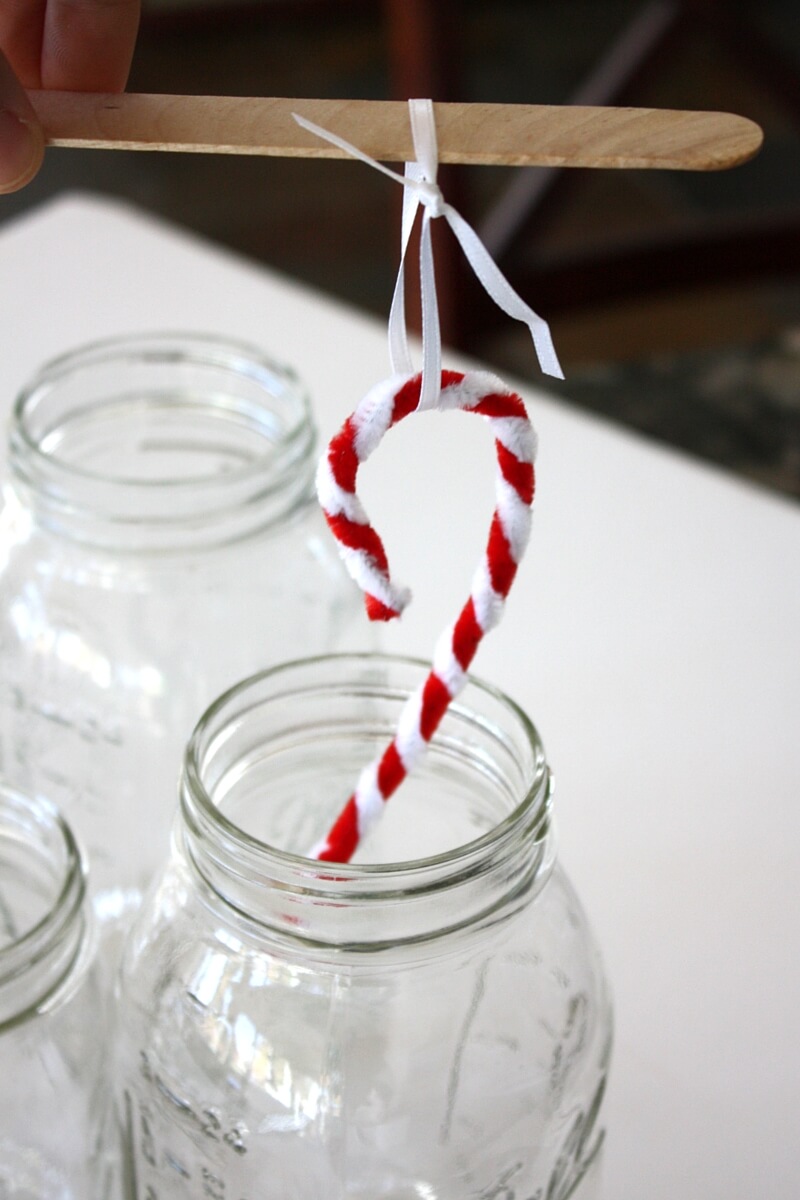
Boil your water, turn off heat, add borax, and stir to mix as it won’t completely dissolve. Pour into jars and place in an area where they won’t get knocked around. I was daring and just left them on the kitchen counter.
In a few hours you will see crystals beginning to grow {all about suspension science!} and by the next morning {18-24hours}, your crystal candy canes will be covered in cool looking crystals. The crystals are quite hardy!
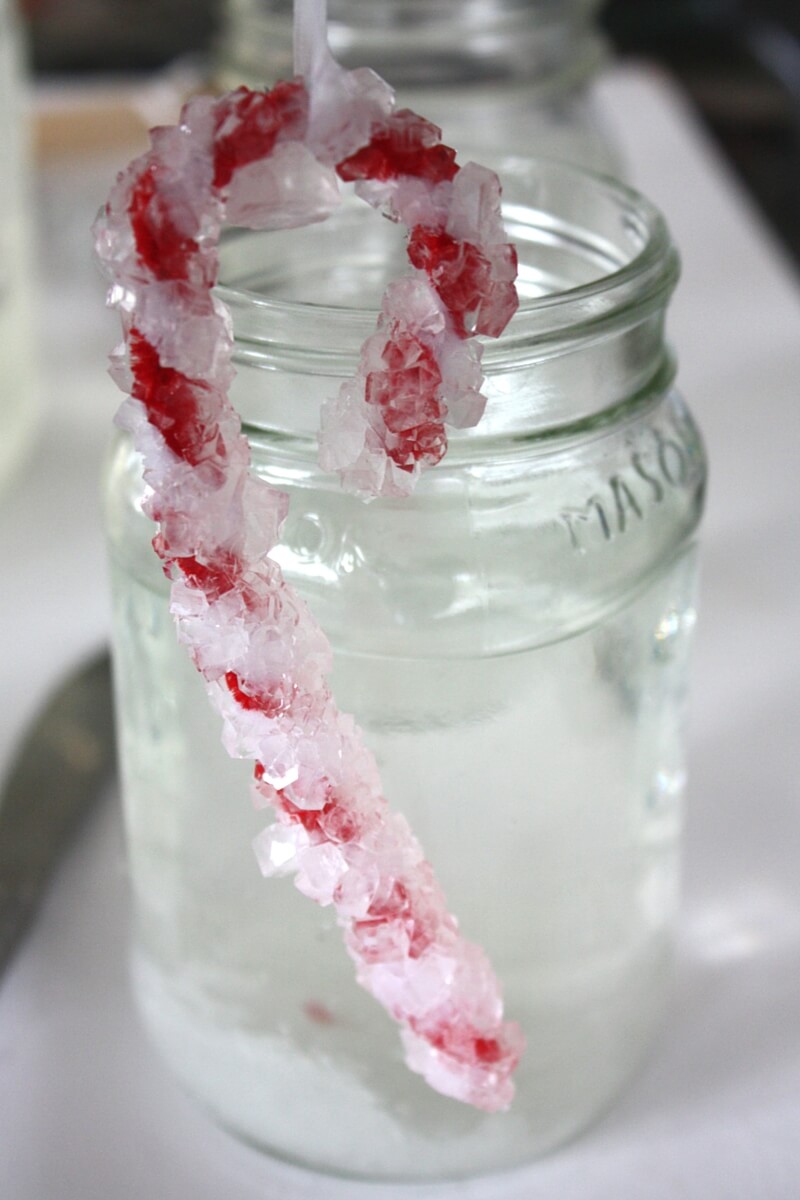
Take them out and place on paper towels to dry a bit. They are neither fragile nor overly sturdy, but my son can handle them with 6 year old hands and they hold up nicely. Grab a magnifying glass to check out your crystal candy canes!
NOTE: We have had several candy canes last till next season! I couldn’t believe it when I unwrapped them.
All our crystal candy canes finished growing crystals!

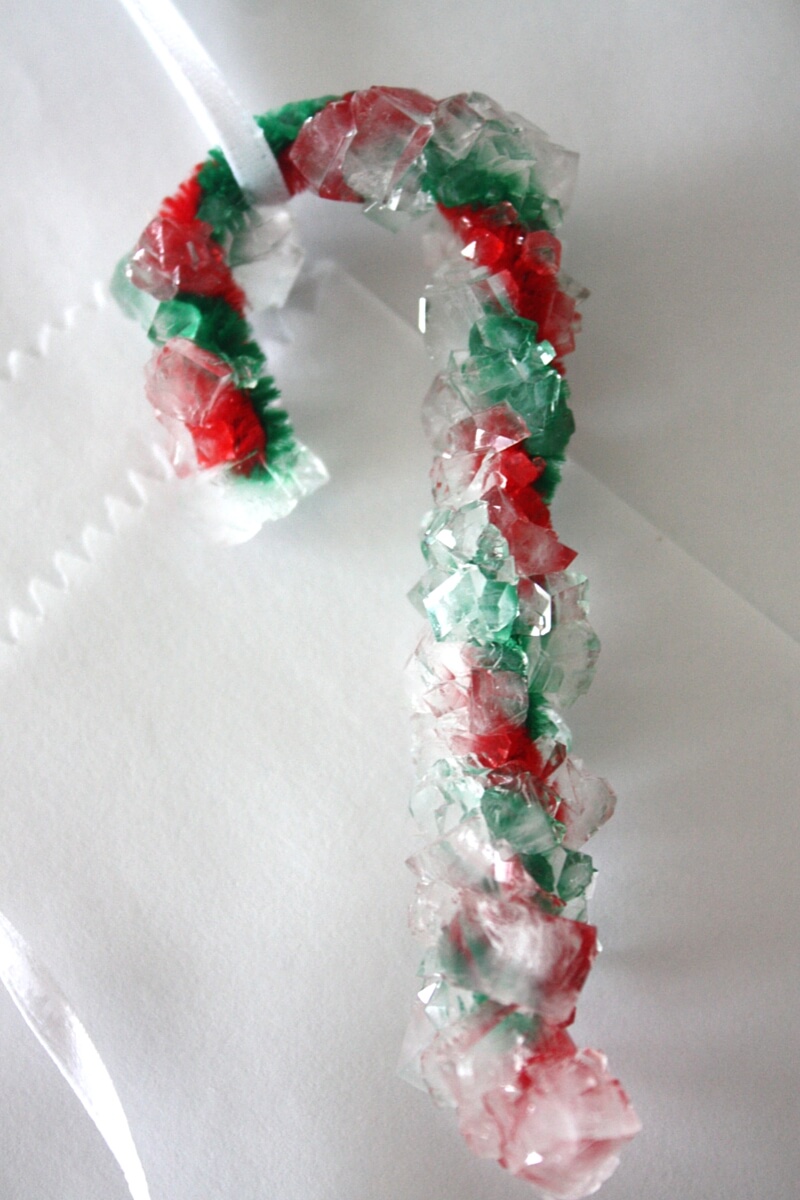
Check out the faces of the crystals! These ornaments look so pretty hanging in the window! They also make a great Christmas tree decoration. Add a piece of string and use them to decorate for the holidays.
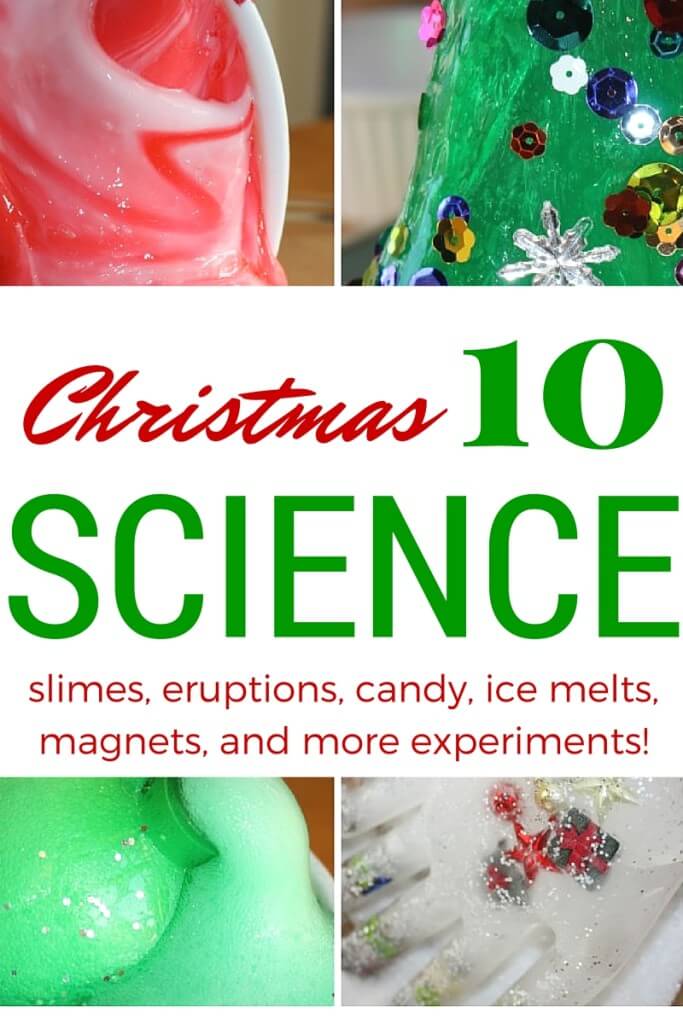
Science is cool. Christmas science is even cooler. Explore chemistry this holiday season.
LEARN HOW TO GROW YOUR OWN CRYSTAL CANDY CANES
Follow along with our 25 Days of Christmas STEM Countdown Calendar activities!
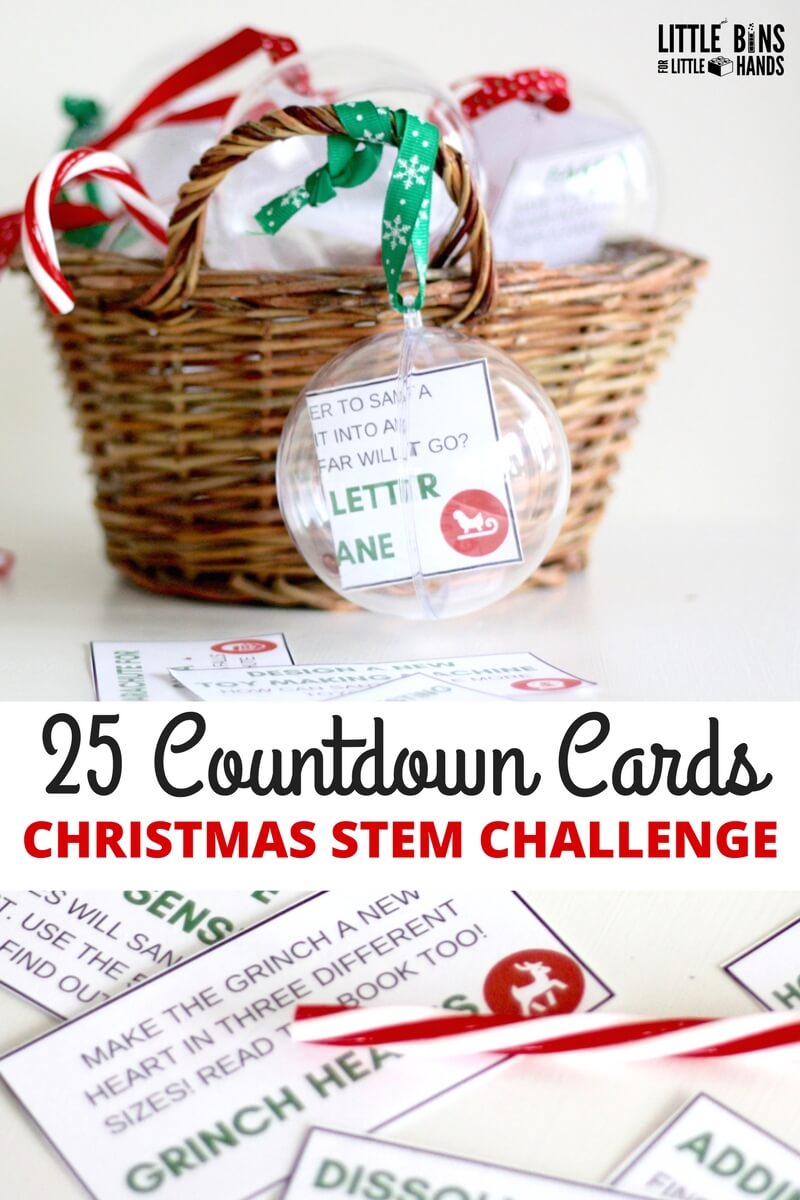
Check out our STEM countdown filled with fun activities and experiments!

Some of our favorite STEM tools at home! Amazon Affiliate Disclosure: I receive compensation for any items sold through this site. Our ideas are always free to enjoy and try at school or home.
Original article and pictures take http://littlebinsforlittlehands.com/christmas-crystal-candy-canes-science-activity/ site
Комментариев нет:
Отправить комментарий