

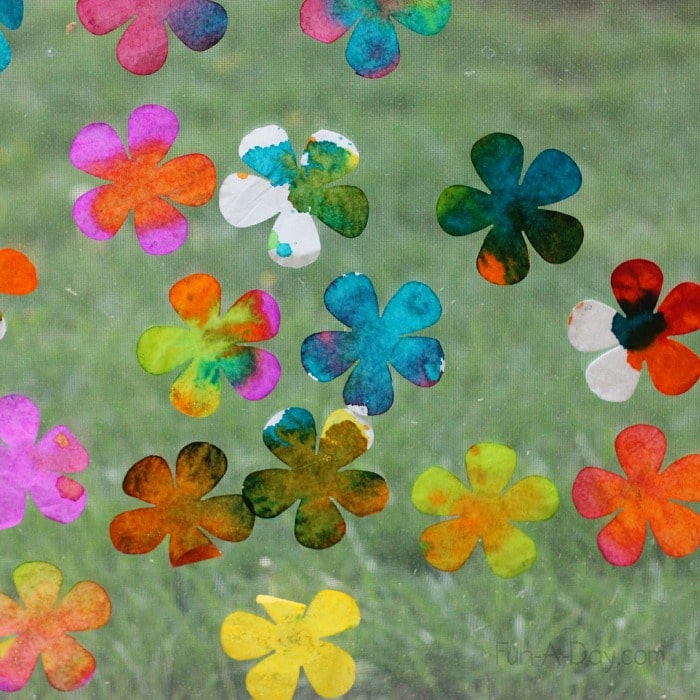
explore science and art with coffee filter flowers
Affiliate links included in this post
Prep
Using the school’s die-cut machine, I cut out a zillion flowers from a stack of coffee filters. Okay, so it probably wasn’t a zillion! I’m glad we have a die-cut machine at the school, as this project extended farther than I originally planned (meaning I had to go back a few times to make more coffee filter flowers)! Hand-cutting the flowers wouldn’t have been difficult, though, just more time consuming.
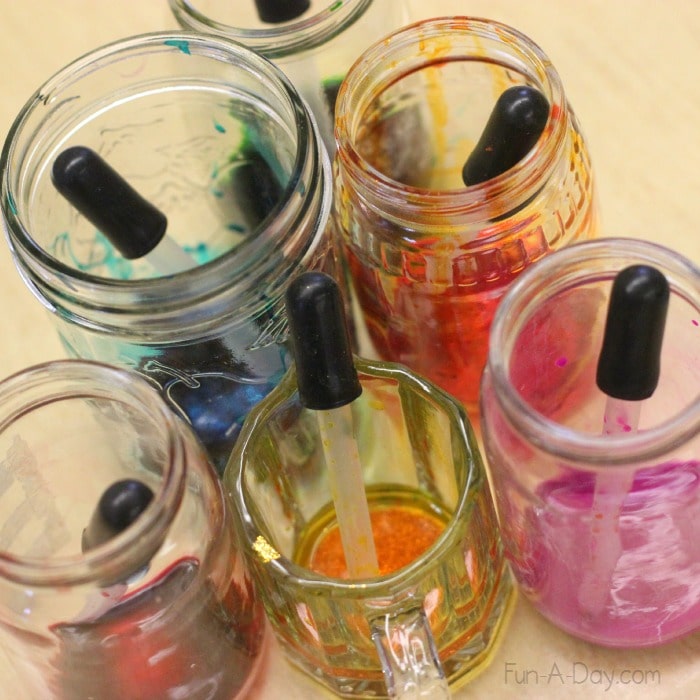
I squirted some liquid watercolors into a variety of old glass jars I had on-hand. I’ve found that the glass jars work best for holding the liquid watercolors, as the jars are less prone to tipping over. Unless you’re like me and you knock them over, of course!

What we did
With each child, I placed a piece of wax paper down and wrote his name on it with permanent marker. The wax paper helped contain any escaping watercolors and made it easier to take the coffee filter flowers over to our drying rack.
I reviewed how to use an eye dropper with the children, just in case. Then I let them at it! Some children excitedly splatted large amounts of paint onto the coffee filters at first. This led to a great discussion of over-saturation versus saturation! Once they’d experimented with over-saturating the flowers, the kiddos were much more intentional about dropping the paint sparingly. Well, unless they were enthusiastically experimenting with over-saturation!
Using the eye droppers, the children watched how the watercolors were absorbed by the coffee filter flowers. We ended up doing this experiment on and off for more than 5 days, so we explored with different colors and types of liquid watercolors. This allowed us to see that some were absorbed much quicker than others. A few of the kids and I explored this in-depth, “racing” some of the colors on the flowers. We found that the glitter watercolors were absorbed a lot less quickly than the regular watercolors. We hypothesized it was because the glitter watercolors are thicker.
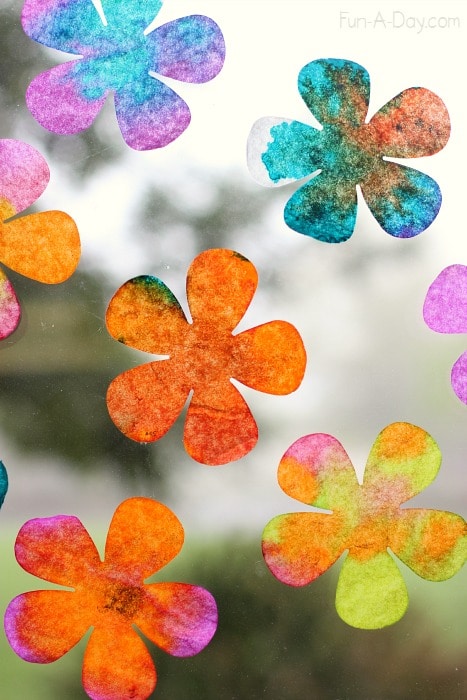
In addition to saturation and absorption, we delved into color theory a bit too. There were grand exclamations about making new colors by mixing some of the paints! The concept that red and yellow make orange is so much more meaningful to a child when she’s making that discovery herself! The kids also noticed that the darker colors sometimes overtook the lighter colors.
The learning
Here are some of the concepts we explored with this awesome science and art project:
- Absorption
- Color mixing
- Saturation
- Fine motor skills
We’ll definitely be doing another science and art experiment before the school year is over! Many of the flowers are displayed in our classroom windows already, although we still have more to put up! We decided we liked the flowers better when they’re taped directly to the window, as the colors are brighter. That’s in comparison to placing the flowers on a piece of contact paper to display in the window.
Original article and pictures take http://fun-a-day.com/colorful-science-and-art-experiment-for-spring/ site
Комментариев нет:
Отправить комментарий